So, raise your hand if this is you…

🙋🏻♀️🙋🏻♀️🙋🏻♀️🙋🏻♀️🙋🏻♀️🙋🏻♀️🙋🏻♀️🙋🏻♀️🙋🏻♀️
Well, this was is me as well. Thankfully my lack of ability in leveling bulletin board letters has helped me to become a master at scrounging together helpful tips and tricks to make bulletin board life a little easier! If you have this same kind of problem, stick with me! I hope to teach you a few of my favorite tips to make your bulletin board life a little bit easier.
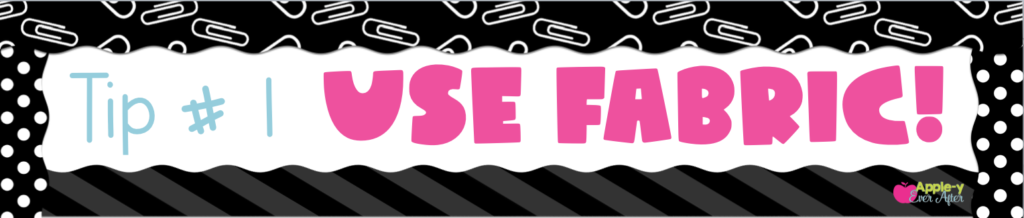
1. Use Fabric instead of Bulletin Board Paper
The first tip I have for you actually came from one of my best (teacher) friends, Ashley. When I was hired for my teaching job years ago alongside this Ashley girl that I grew up with but wasn’t really friends with, little did I know that we would be here today and that I would be talking about how awesome her bulletin board skills she is!
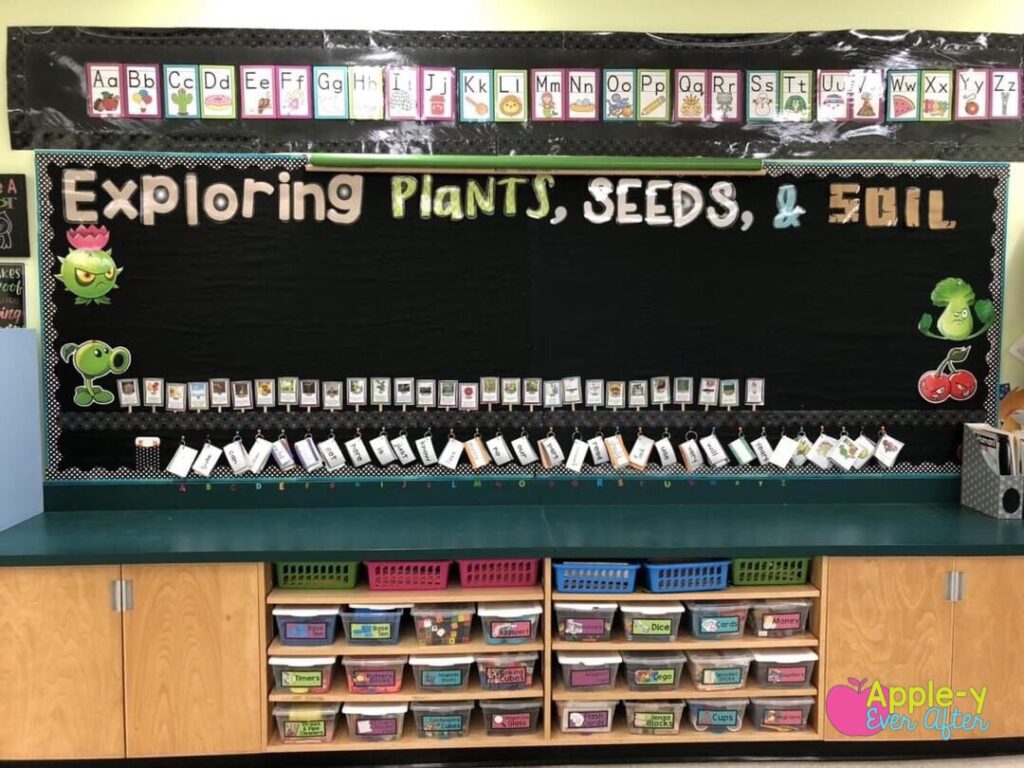
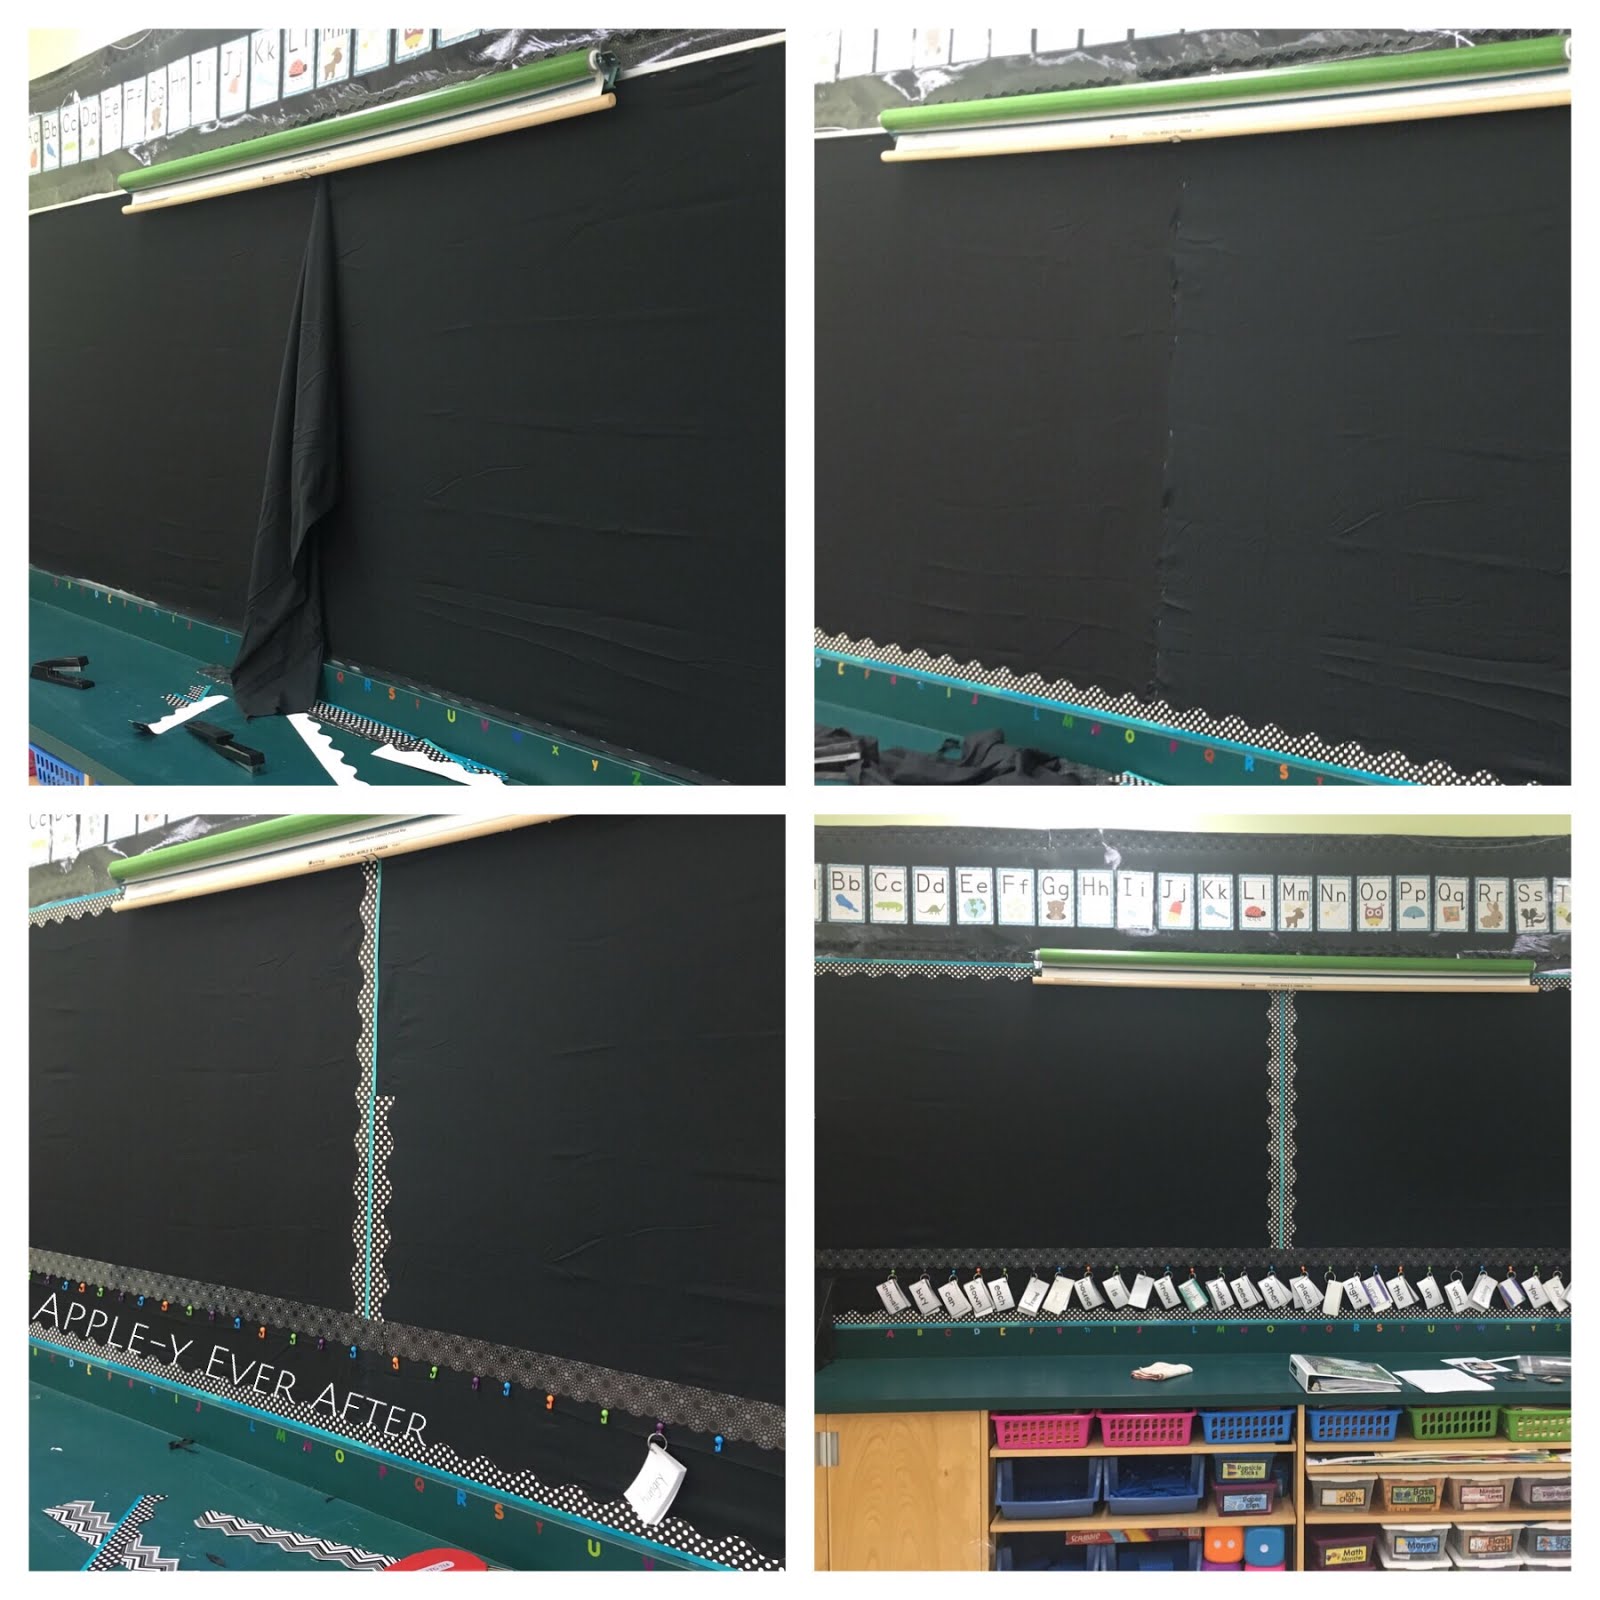
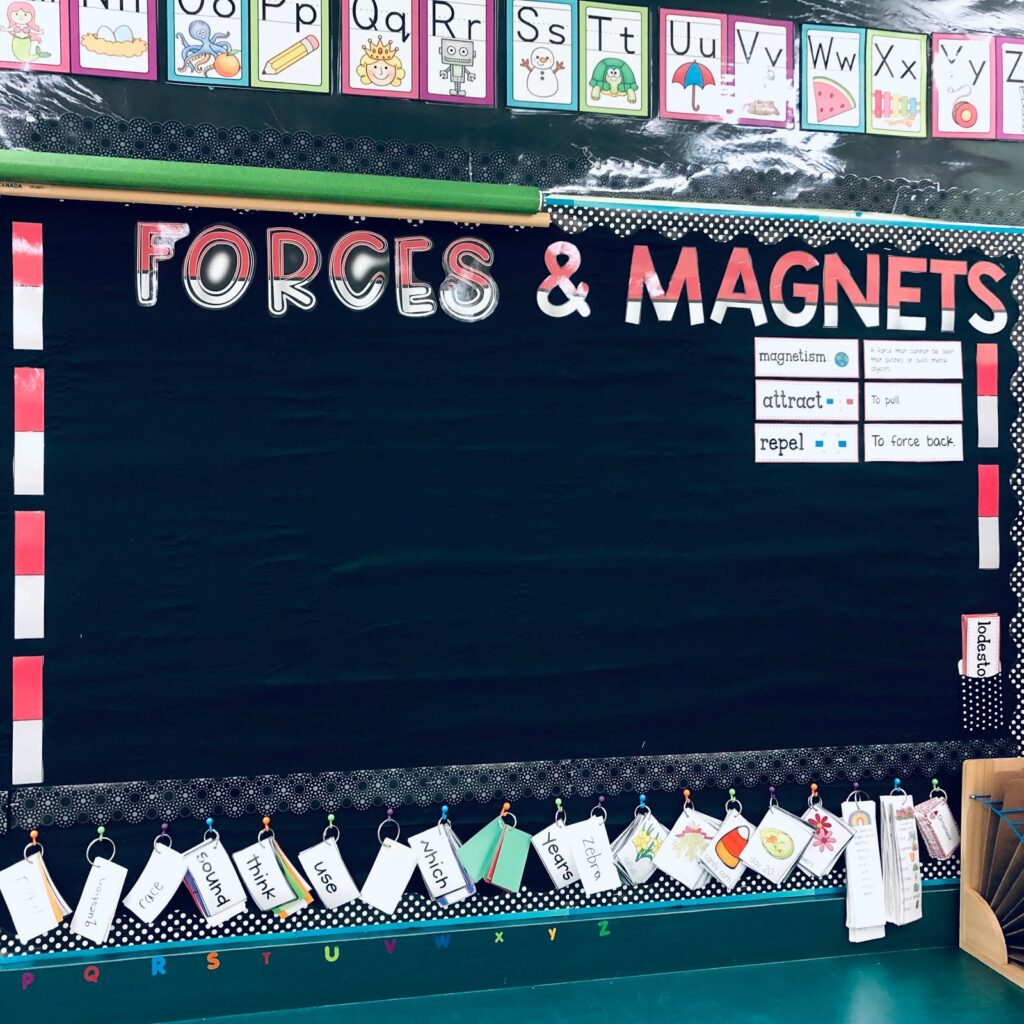
Well, Ashley has great bulletin boards. You know, aside from the awful font choices that I would inevitably have to re-do to meet my ‘non-comic sans standard.’ She’s fine with me saying this because I am super good at font choices and she isn’t ? and also because she knows it’s true! Anyway, Ashley had fabric on her bulletin boards. They were vibrant, they lasted LITERALLY FOR YEARS, and they were very inexpensive to maintain. If you look at this bulletin board that is currently a work in progress in my classroom, you will see that it is backed with simple black fabric.
I know fabric can be super pricy and on a teacher budget? NO WAY! This black fabric is actually fashioned from a flat sheet that I purchased for $4.00. The fact that they last for years is just a really amazing bonus!
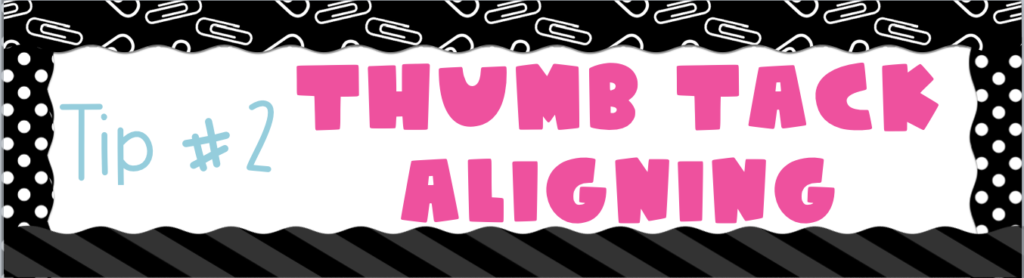
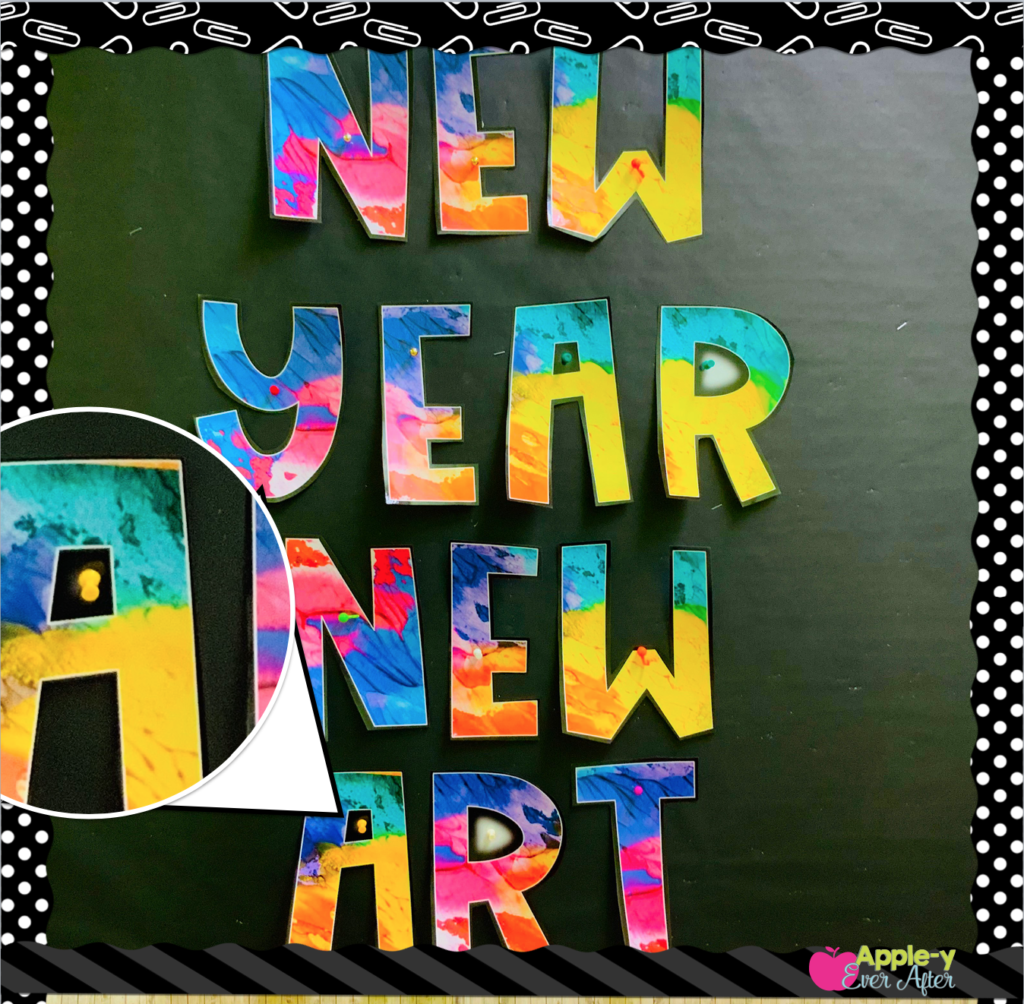
2. Thumbtack Trick!
Aligning bulletin board letters used to be my nemesis. I ALWAYS tried to center them, to make sure they were evenly spaced across my board and made sense placement wise among my student work. Well, rather than stapling your letters on and pulling them out an infinite amount of times, start off by using thumbtacks to align your letters on your bulletin board. Let me say that again. THUMBTACKS! This is the easiest and simplest way to adjust and align everything on your bulletin board!
3. Stacking your Borders!
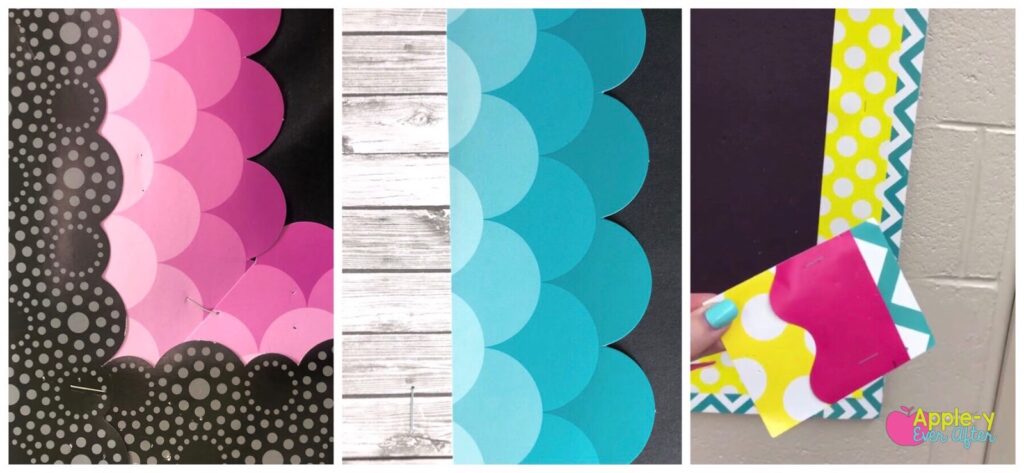
One really simple way to make a huge impact on your bulletin boards is to stack your borders!
My friend, Patti over at madlylearning.com has an amazing idea on how to do this! She created herself a template to keep measurements the same on all her borders!
Here are a few examples of bulletin board borders that are stacked INCLUDING Patti’s awesome hack!
4. Use Pockets to Organize!
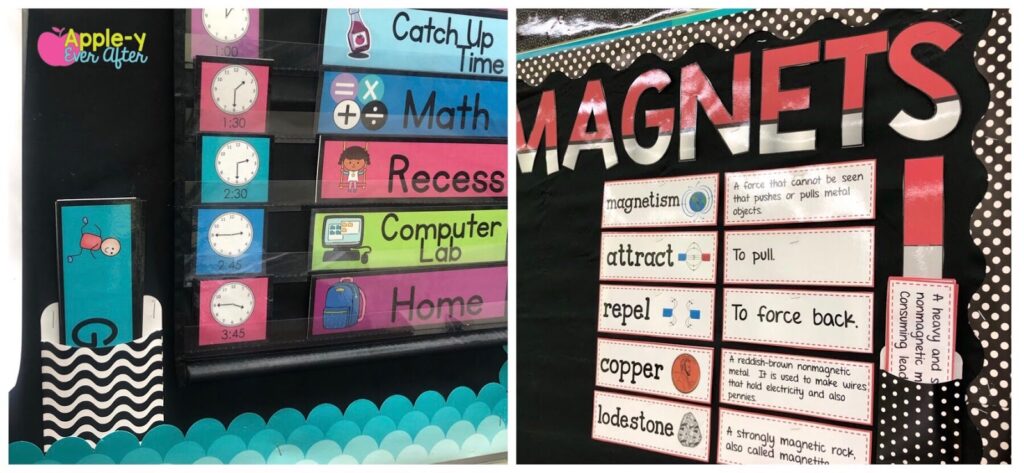
Another fun little tip that I use for my bulletin boards is to use pockets like the ones shown below as a tool to help me keep my bulletin boards organized. Often times I don’t want to put out all my vocabulary words until we’ve had a chance to discuss them. By having them on my board all ready to go, it creates an easy way for me to grab the cards that I need and pop them onto my board quickly!
This also works great with schedule cards or student names if you have class helpers etc.
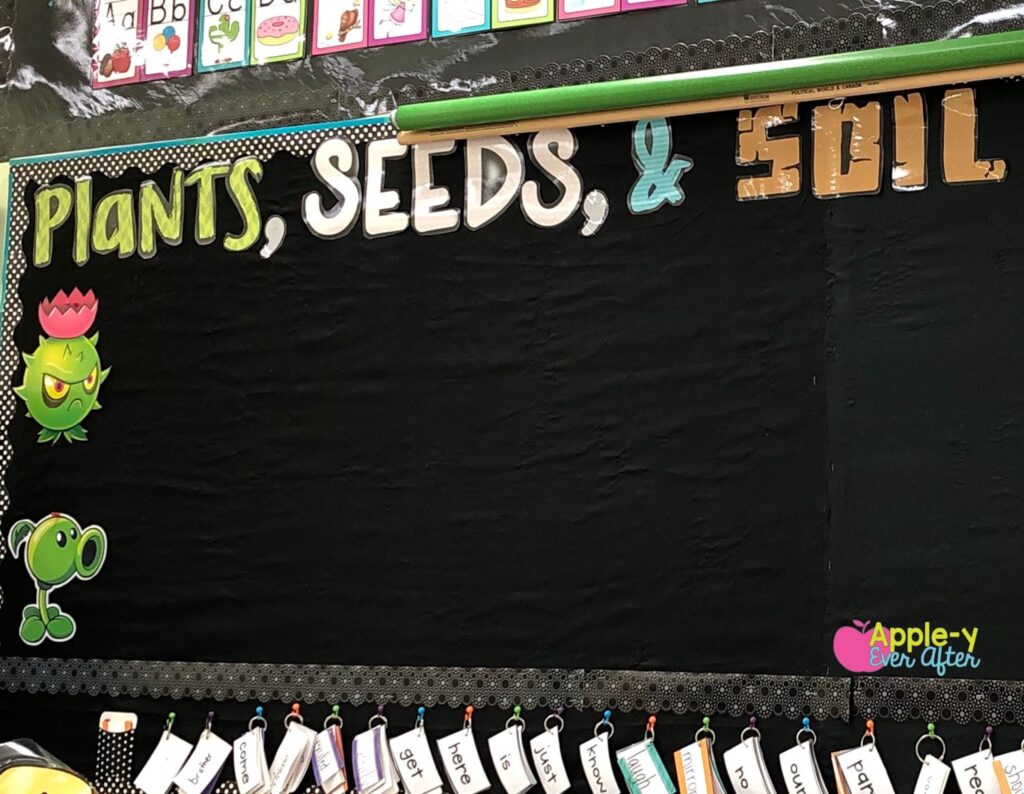
5. Use a Black Sharpie to Hide Staples!
I know that this won’t work with all bulletin board backgrounds, but when you have a black bulletin board background and you want to hide those pesky silver staples from showing up, simply color over it with a black sharpie marker! Voila! Silver staples are hidden!
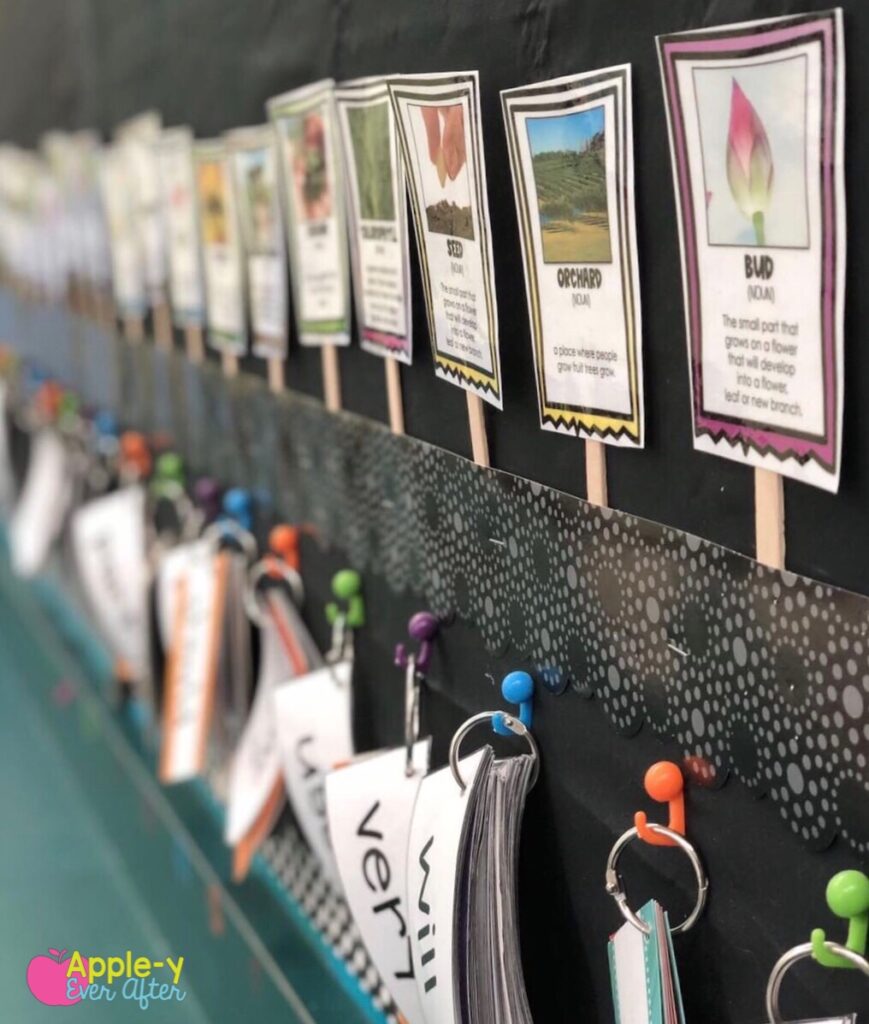
6. Use Thumb Tack Hooks to Make Things Interactive…
This is one of my favorite hacks. In grade 3 I still have a lot of students that rely on a word wall but I don’t have the bulletin board space to hold it all on there. Having thumb tack hooks and rings to create my word wall has been a game changer! You can read all about how I did it HERE.
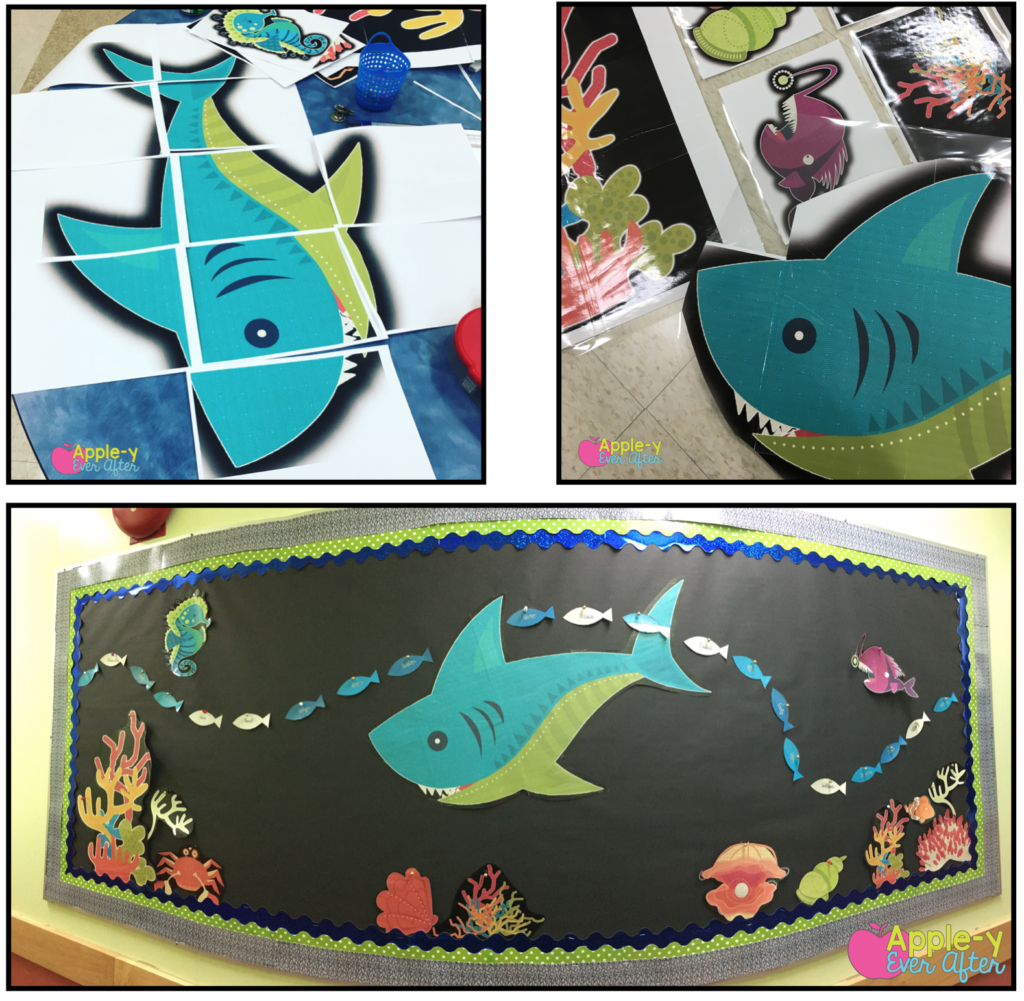
7. Create Your Own Bulletin Board Letters
Creating your own bulletin board letters may sound like a daunting task. I know that I have at least a couple more years in the same grade so it is worth it to make my bulletin board letters on my own. I enjoy having letters that match the theme of my bulletin board or unit of study. Here are a few examples of letters that I have created.

If you want a step by step tutorial on how to do this, click here! 🙂
8. Print your bulletin board letters with a black outline…
Allow me to explain this one. My bulletin board paper is black. All black. I like the black. I don’t foresee myself changing it any year coming up. That being said, I learned a little hack to make it easier on my self.
Printing your letters with a thick black outline or ‘glow’ will make cutting it out so much easier. You don’t need to be as precise and you won’t even notice the black outline.
9. Create a String Bulletin Board
This is the easiest bulletin board hack if you don’t have sufficient space in your classroom. Two strings (or more if you need it) and some command hooks! That’s it!
All I did was:
1.) measure out the string that I would need
2.) measure the height of the command hooks so that they were even
3.) create a loop knot at the end of the string and tied it to the command hook
4.) use clothes pins to hang student work
5.) Voila! That’s it! So easy!

I hope that some of these bulletin board hacks find their way into your classroom! They have made my teaching life easier and hopefully they will make yours easier too!